Cloudflare Pages Frontend
Click
Compute (Workers)->Workers & Pages->Create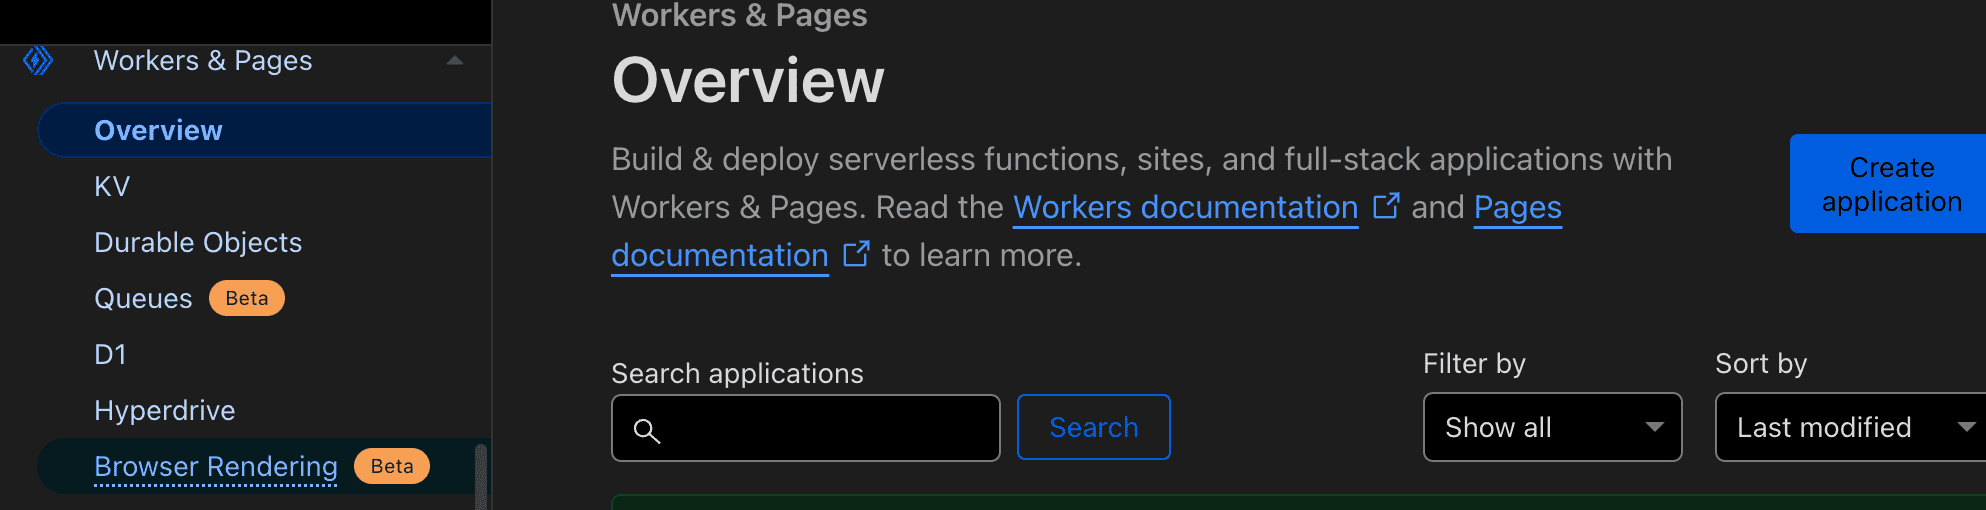
Select
Pages, chooseUse direct upload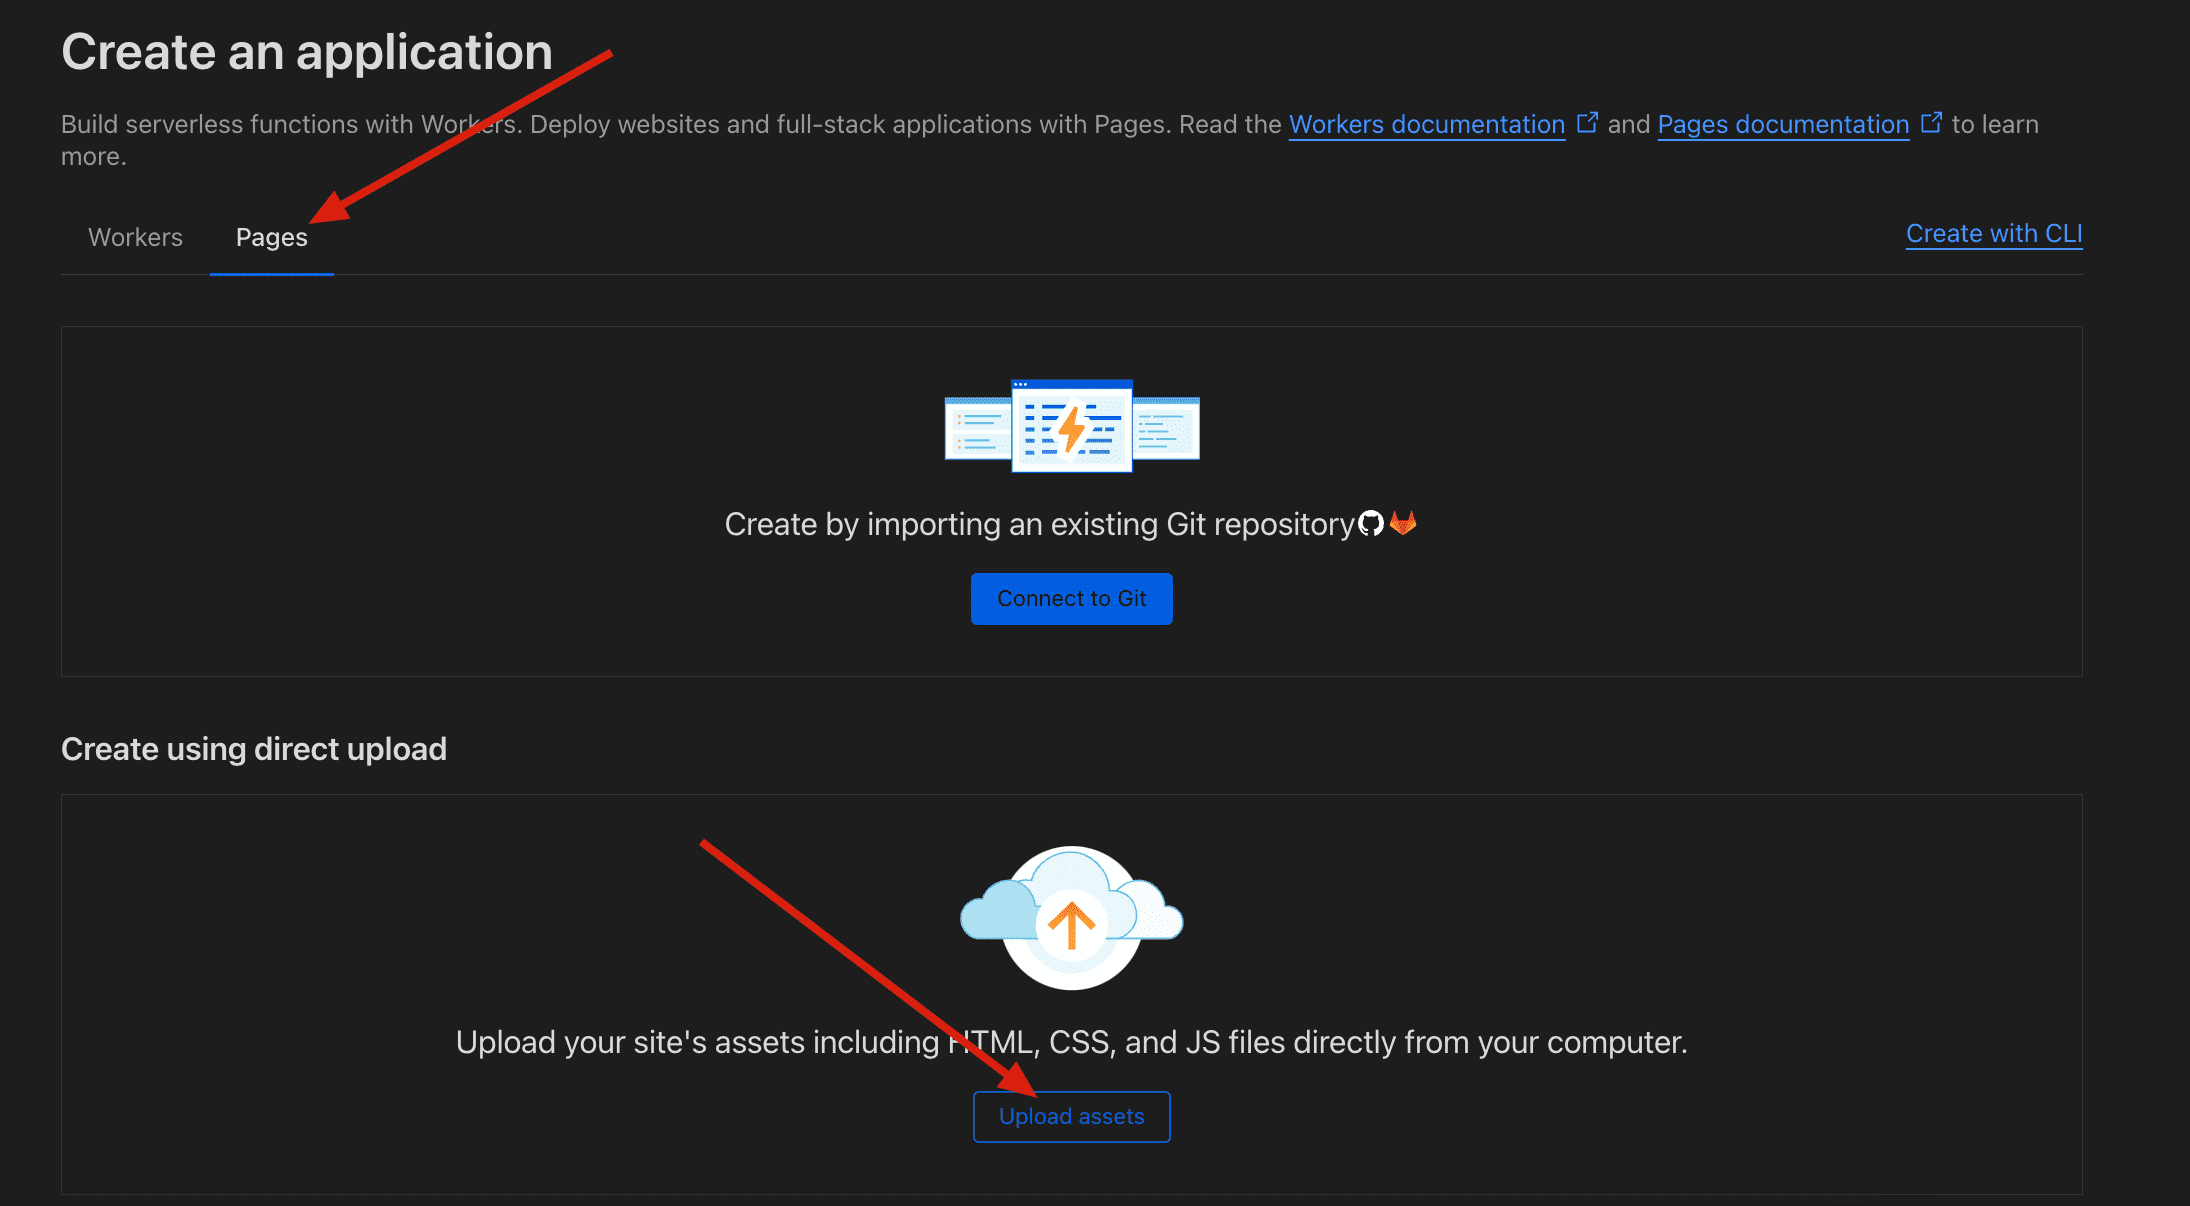
Enter the deployed worker address. It must be the backend API root URL, start with
https://, and must not include a trailing/. Click generate, and if successful, a download button will appear. You will get a zip package.- The worker domain here is the backend API domain. For example, if I deployed at
https://temp-email-api.awsl.uk, then fill inhttps://temp-email-api.awsl.uk - If your domain is
https://temp-email-api.xxx.workers.dev, then fill inhttps://temp-email-api.xxx.workers.dev - Do not enter your frontend
Pagesdomain, and do not include paths like/adminor/api. Otherwise frontend requests will hit the wrong address and you may seeCannot read properties of undefined (reading 'map')or405 Method Not Allowed - Before filling it in, open
https://your-worker-domain/open_api/settingsin the browser and confirm it returns JSON. If it returns HTML, 404, 405, or a Cloudflare challenge page, fix the Worker binding, variables, or security policy first
Note
The
worker.devdomain is not accessible in China, please use a custom domain.Do not enable security policies such as Under Attack, Bot Fight, or Managed Challenge on the backend API domain. Frontend XHR requests cannot complete those browser challenges, and the common symptom is
Network Error.Example: `https://temp-email-api.example.com`. Do not enter the frontend Pages domain and do not add a trailing `/`.
NOTE
You can also deploy manually. Download the zip from here: frontend.zip
Modify the index-xxx.js file in the archive, where xx is a random string
Search for
https://temp-email-api.xxx.xxxand replace it with your worker's backend API root URL, then deploy the new zip file. If you replace it with the frontend Pages domain, common symptoms are themaperror or405responses from API requestsIf you entered the wrong address the first time and still see errors after redeploying, test in an incognito window or clear browser cache so the browser stops using the old frontend assets.
- The worker domain here is the backend API domain. For example, if I deployed at
Select
Pages, clickCreate Pages, modify the name, upload the downloaded zip packageImportant: SPA Mode
This project is a Single-Page Application (SPA). You must expand the advanced options during deployment and set "Not Found handling" to
Single-page application (SPA). Otherwise, refreshing the page or directly accessing sub-paths like/adminwill return a 404 error.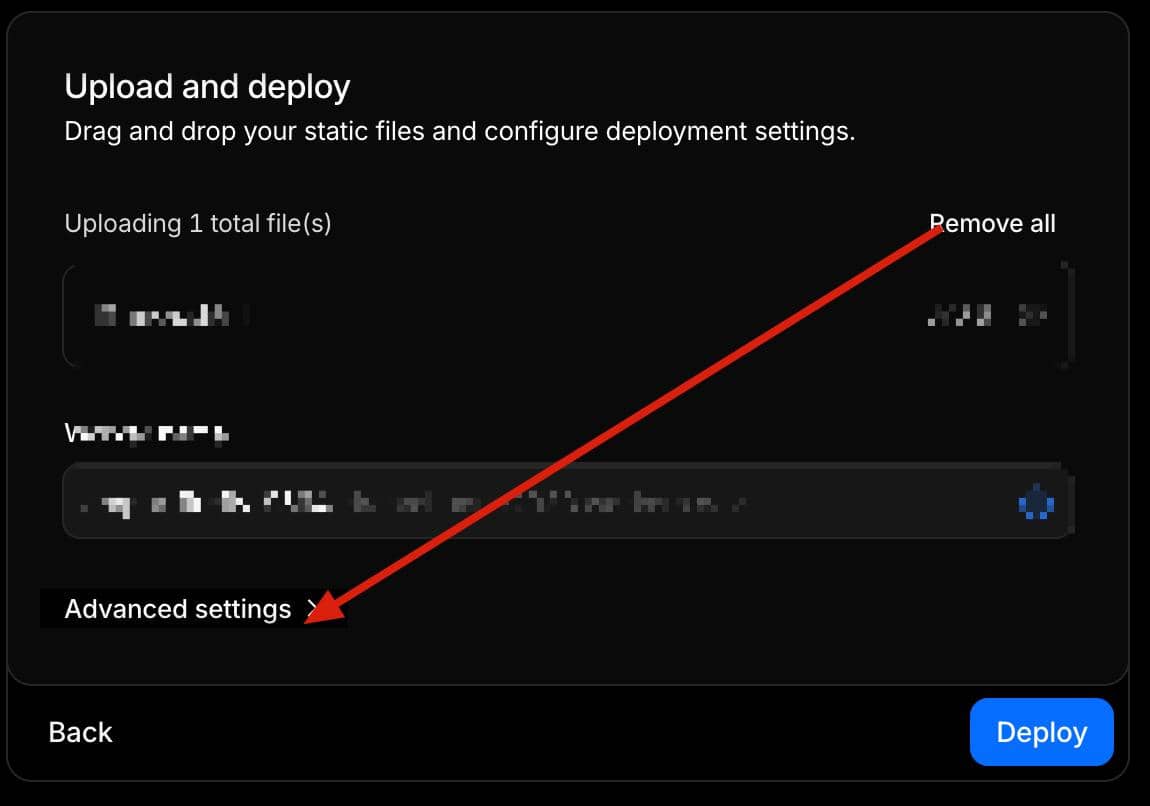
Then click
Deploy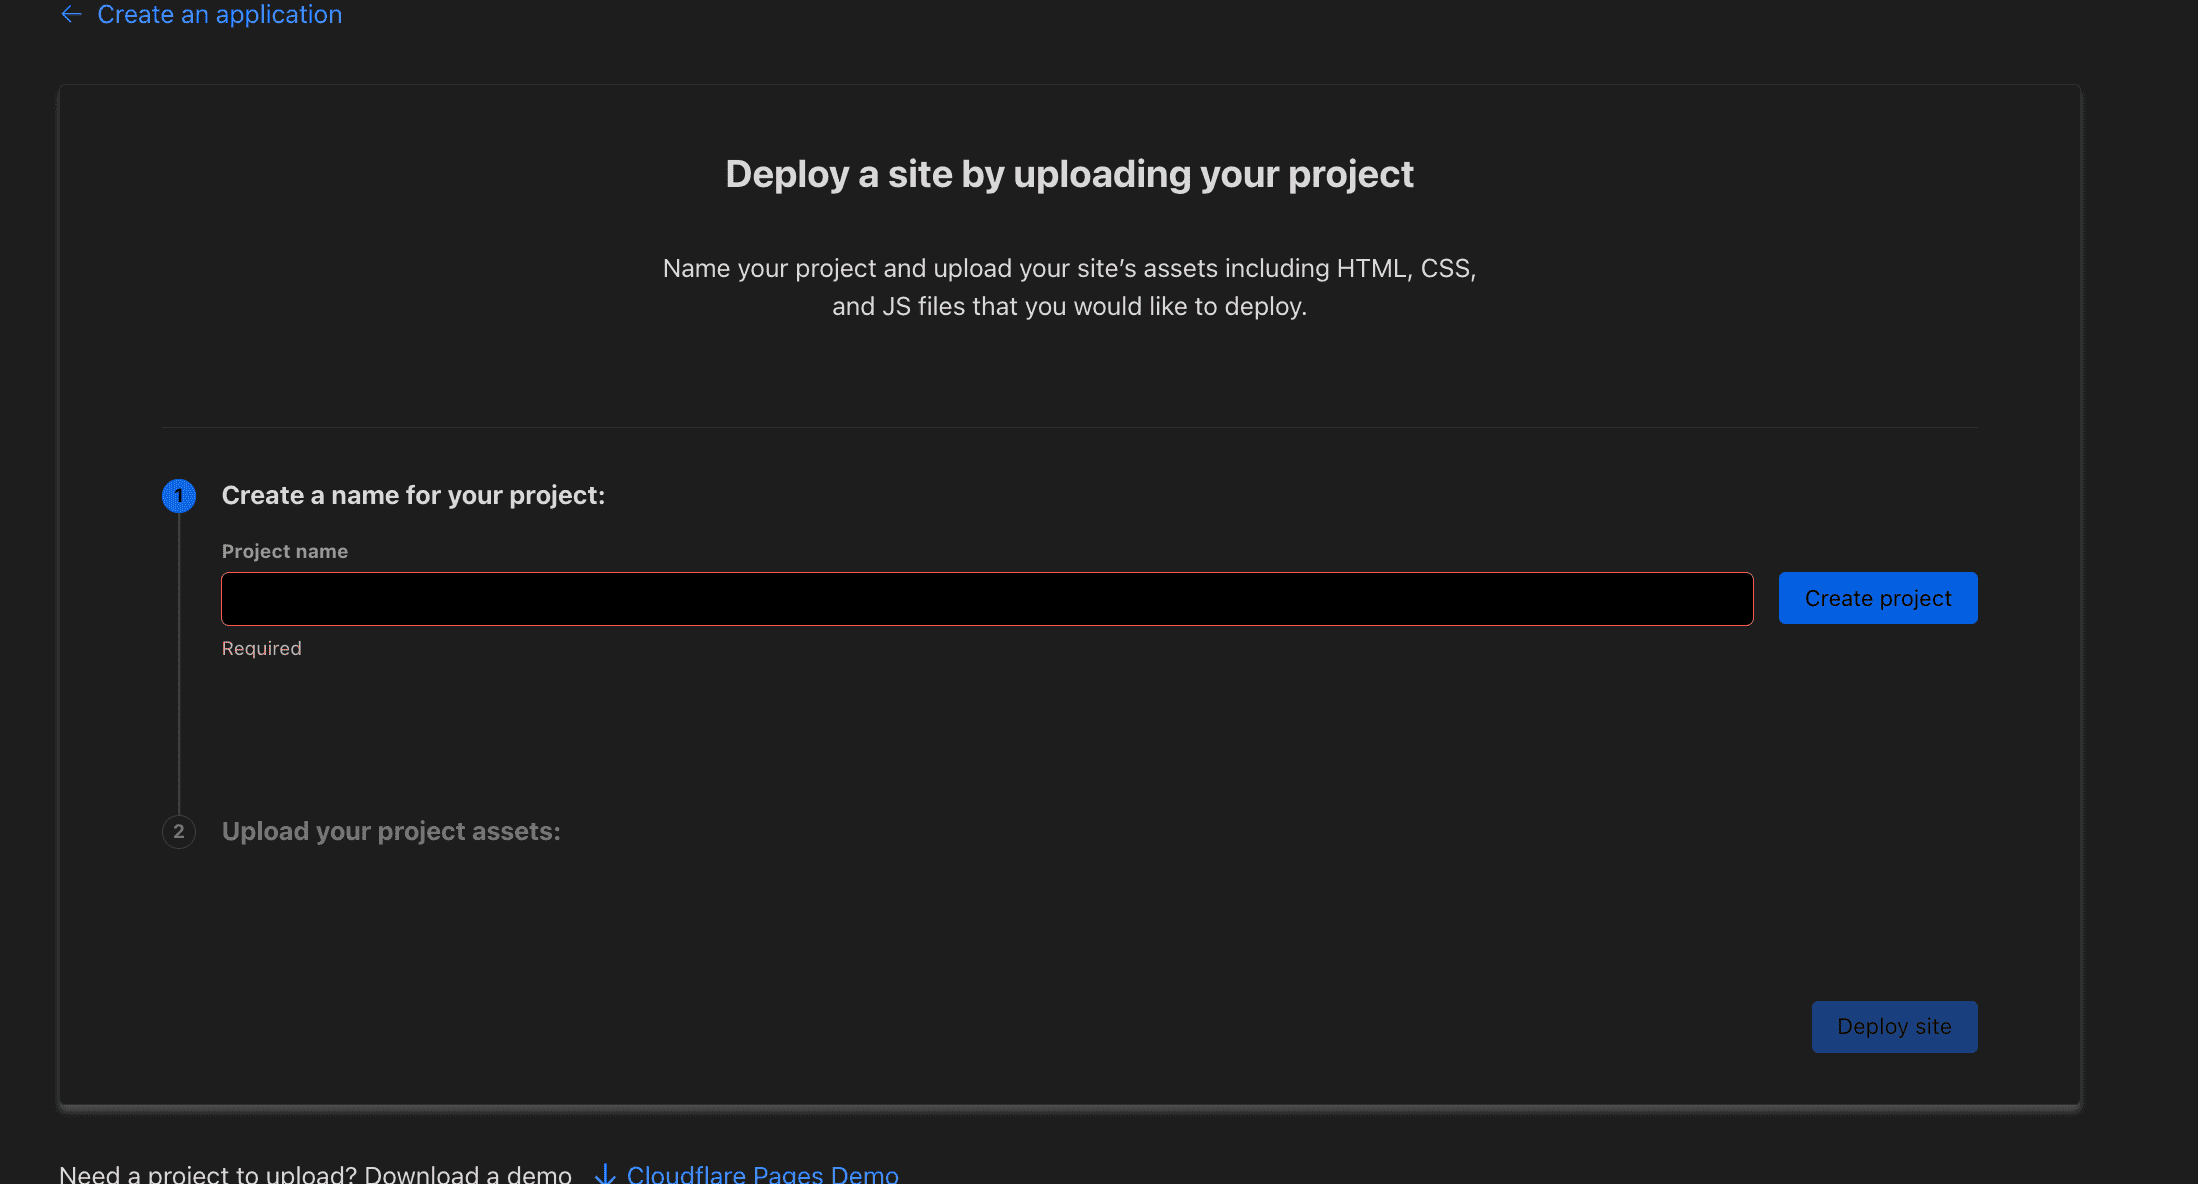
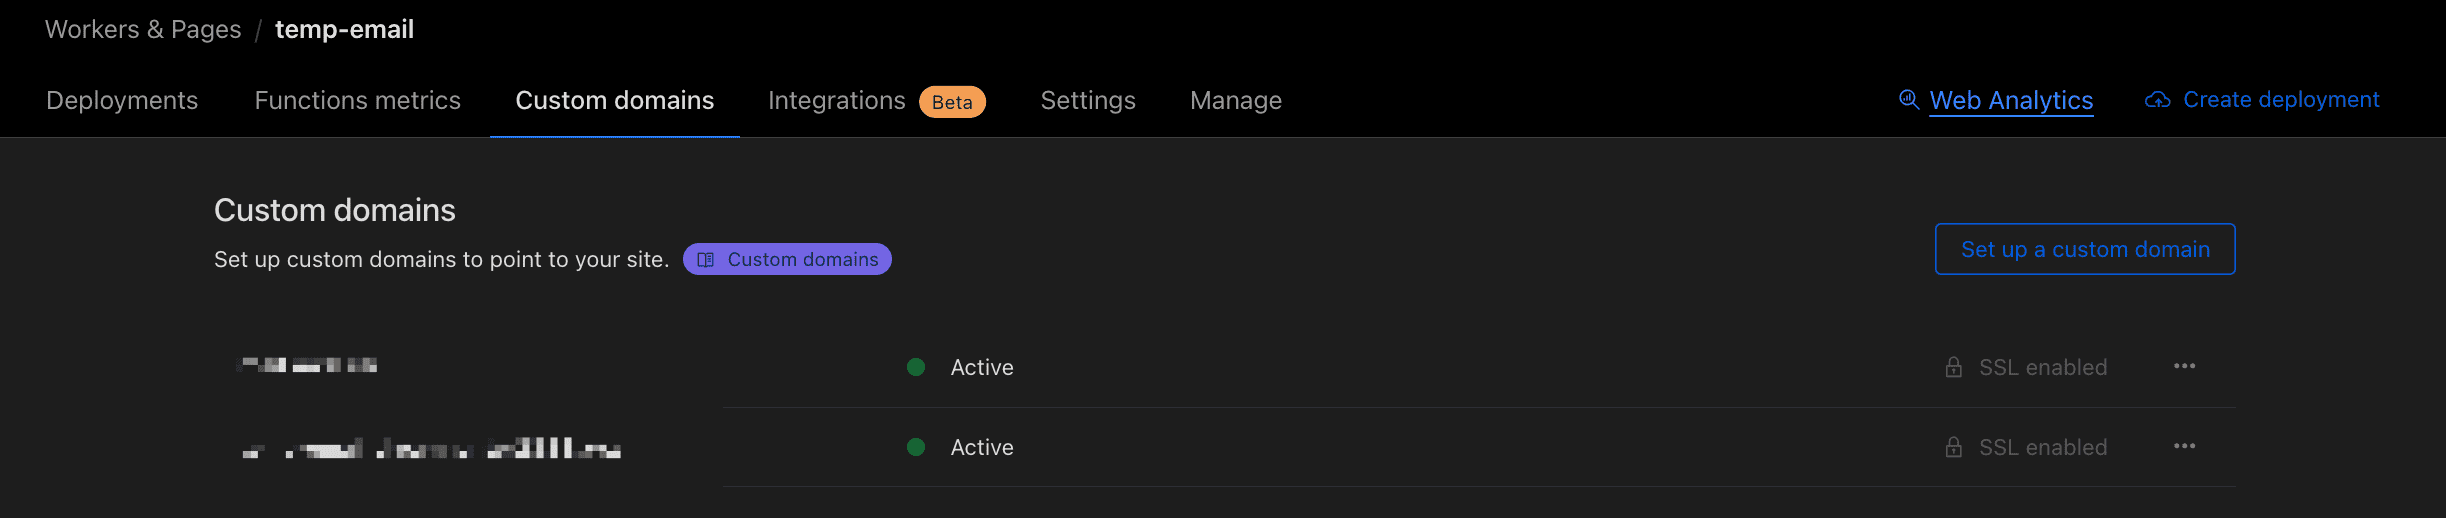
Open the
Pagesyou just deployed, clickCustom Domain. Here you can add your own domain, or you can use the automatically generated*.pages.devdomain. If you can open the domain, the deployment is successful.