Cloudflare Worker Backend
Notice
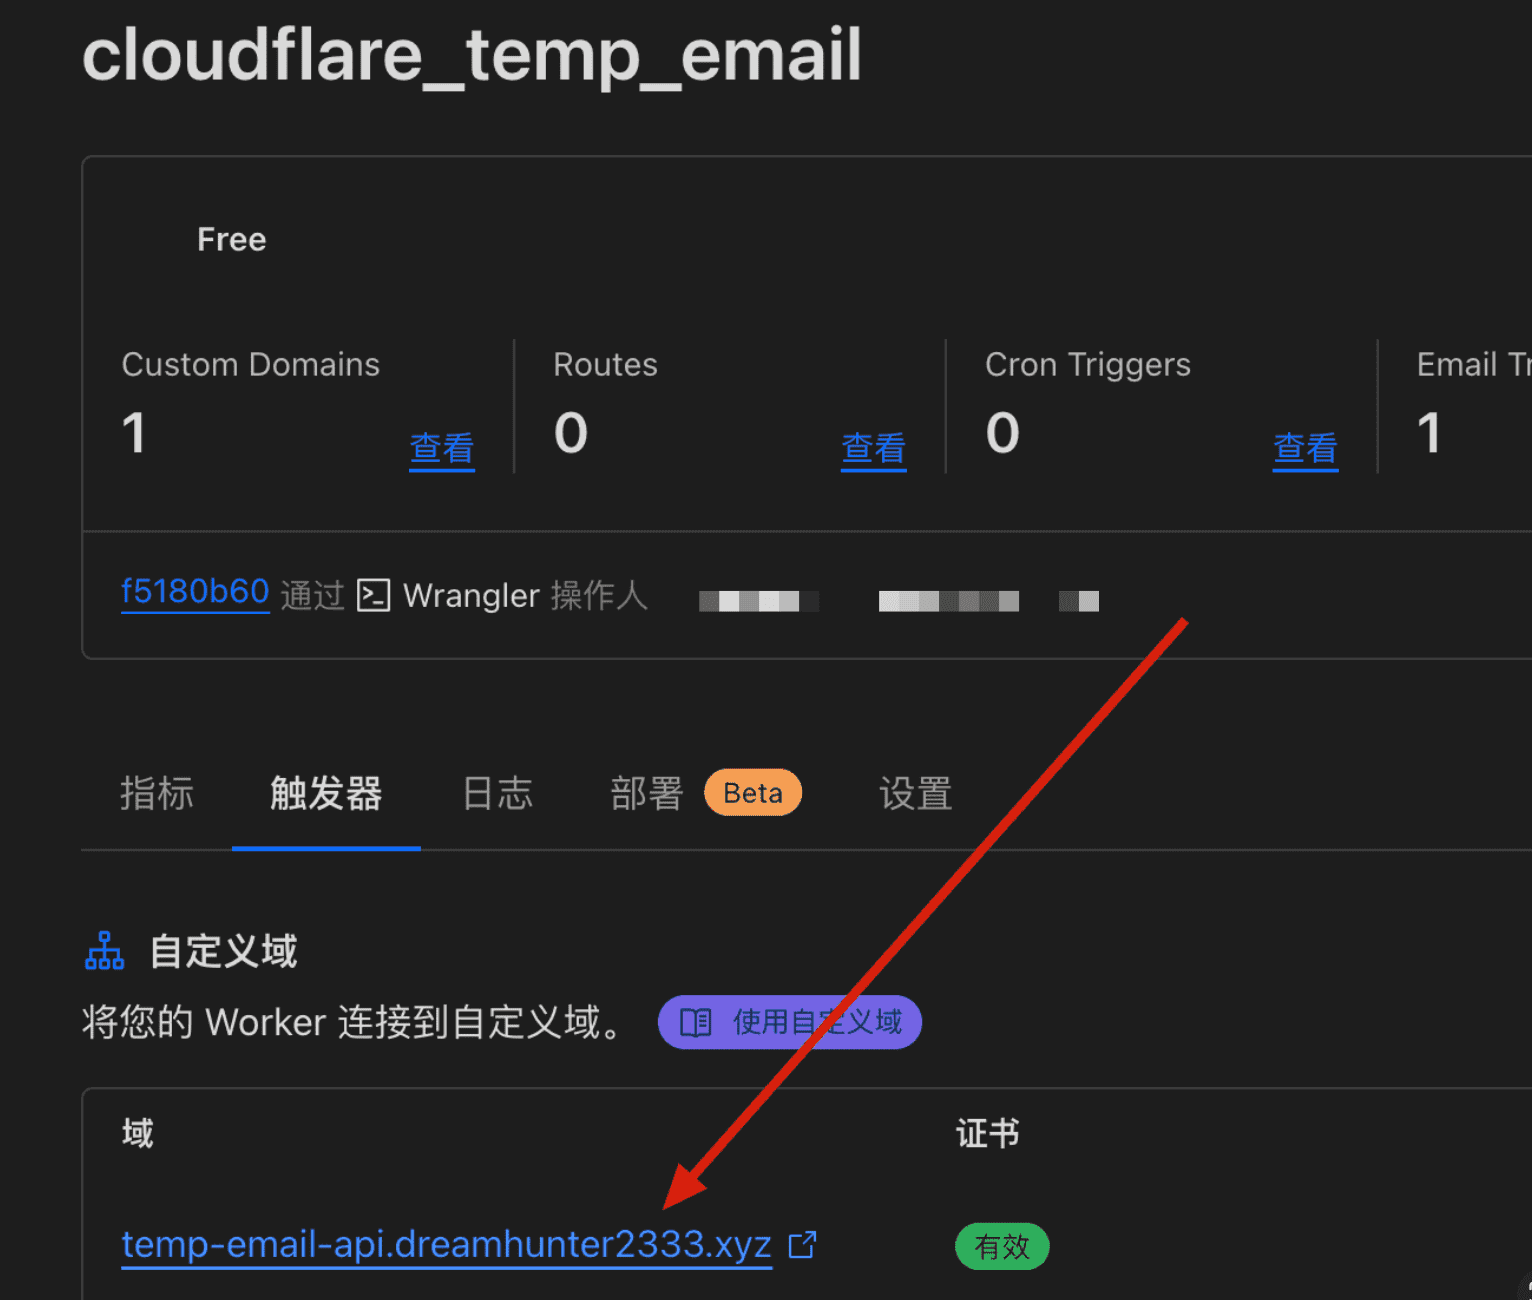
The worker.dev domain is not accessible in China, please use a custom domain
Initialize Project
cd worker
pnpm install
cp wrangler.toml.template wrangler.toml
Create KV Cache
NOTE
If you want to enable user registration and need to send email verification, you need to create a KV cache. You can skip this step if not needed. If you need Telegram Bot, you need to create a KV cache. You can skip this step if not needed.
Create KV cache through command line, or create it in the Cloudflare console, then copy the corresponding configuration to the wrangler.toml file.
wrangler kv:namespace create DEVModify wrangler.toml Configuration File
Note
For more variable configurations, please check Worker Variables Documentation
name = "cloudflare_temp_email"
main = "src/worker.ts"
compatibility_date = "2024-09-23"
compatibility_flags = [ "nodejs_compat" ]

# If you want to use a custom domain, you need to add routes configuration
# Replace pattern with your own domain, which must already be added to your Cloudflare account
# Once configured, the Worker will serve via this custom domain instead of the default *.workers.dev domain
# routes = [
#  { pattern = "temp-email-api.xxxxx.xyz", custom_domain = true },
# ]

# If you want to deploy a worker with frontend assets, you need to add assets configuration
# [assets]
# directory = "../frontend/dist/"
# binding = "ASSETS"
# run_worker_first = true

# If you want to use scheduled tasks to clean up emails, uncomment the following and modify the cron expression
# [triggers]
# crons = [ "0 0 * * *" ]

# Send emails through Cloudflare
# send_email = [
#    { name = "SEND_MAIL" },
# ]

[vars]
# Email name prefix, can be configured as an empty string or not configured if no prefix is needed
PREFIX = "tmp"
# All domains used for temporary email, supports multiple domains
DOMAINS = ["xxx.xxx1" , "xxx.xxx2"]
# Secret key for signing JWTs used in login and authentication
# Use a random string, e.g. generated via: openssl rand -hex 32
JWT_SECRET = "xxx"

# Admin console password, if not configured, console access is not allowed
# ADMIN_PASSWORDS = ["123", "456"]

# Whether to allow users to create emails, not allowed if not configured
ENABLE_USER_CREATE_EMAIL = true
# Allow users to delete emails, not allowed if not configured
ENABLE_USER_DELETE_EMAIL = true

# D1 database name and ID can be viewed in the Cloudflare console
[[d1_databases]]
binding = "DB"
database_name = "xxx" # D1 database name
database_id = "xxx" # D1 database ID

# KV config for user registration email verification, can be skipped if user registration is not enabled or registration verification is not enabled
# [[kv_namespaces]]
# binding = "KV"
# id = "xxxx"

# Rate limit configuration for new address /api/new_address
# [[unsafe.bindings]]
# name = "RATE_LIMITER"
# type = "ratelimit"
# namespace_id = "1001"
# # 10 requests per minute
# simple = { limit = 10, period = 60 }

# Bind other workers to process emails, for example, using auth-inbox AI capabilities to parse verification codes or activation links
# [[services]]
# binding = "AUTH_INBOX"
# service = "auth-inbox"
Deploy Worker with Frontend (Optional)
NOTE
If you don't need a [worker with frontend], you can skip this step. Refer to the frontend deployment documentation later for separate frontend and backend deployment.
Ensure the frontend assets are built to the frontend/dist directory.
cd frontend
pnpm install --no-frozen-lockfile
pnpm build:pages
Add the following configuration to the wrangler.toml file in the worker directory.
[assets]
directory = "../frontend/dist/"
binding = "ASSETS"
run_worker_first = true
Telegram Bot Configuration
NOTE
If you don't need Telegram Bot, you can skip this step.
Please create a Telegram Bot first, then get the token, and execute the following command to add the token to secrets.
pnpm wrangler secret put TELEGRAM_BOT_TOKENDeploy
The first deployment will prompt you to create a project. For the production branch, enter production.
pnpm run deployAfter successful deployment, you can see the worker url in the routes, and the console will also output the worker url.
NOTE
Open the worker url, if it displays OK, the deployment is successful.
Open /health_check, if it displays OK, the deployment is successful.